Installation is where a cantilever scaffold either earns its rating or quietly sets up a failure. Most problems we're called about trace back to two habits: loading the scaffold before the anchor concrete has reached strength, or skipping the tie-rod and propping step to save a day. Neither shows up until there's weight on the frame.
This is the sequence we hand our own crews and customers for the modern embedded tie-rod system. Treat it as the working baseline behind a project-specific design, not a replacement for one. Cantilever scaffolding is an engineered structure everywhere it's used, and the drawings and load calc always come first.
Before you start: what has to be ready
You need an approved construction plan on site before a single beam goes up. Cantilever and knee-out scaffolds carry an eccentric load, so many jurisdictions require them to be built under a competent erector and checked by two competent scaffold inspectors, not one. Confirm the design document is signed off and the erection method is spelled out.
Then check the kit. Every beam, rod, and fitting should be free of bends, rust, and cracks. Verify three things match the drawing: the beam size, the tie-rod diameter, and the fit between the embedded insert and the bolt you'll thread into it weeks later. A mismatched insert is the single most expensive thing to discover after the pour.
Embedded parts have to be cast in the right spots, numbered to the drawing. That includes the lower insert the beam bolts to, and the 145 mm upper insert for the tie rod, which goes in before the floor above is poured.
Concrete strength gates are the part crews skip and shouldn't. Each step below has a minimum strength the host concrete must reach first:
| Step | Minimum concrete strength before you proceed |
|---|---|
| Install the double-head embed screw | ≥5 MPa |
| Install the cantilever I-beam (host structure) | ≥C10 |
| Erect the scaffold on the beams | ≥C15 |
| Tension the upper tie rod (upper anchor point) | 75% of design strength (roughly 72 hours after the pour) |
The erection sequence, step by step
- Mark and position. Set out the standard spacing from the plan with proper measuring tools. The beam and standard positions are load points, so precision here pays off all the way up.
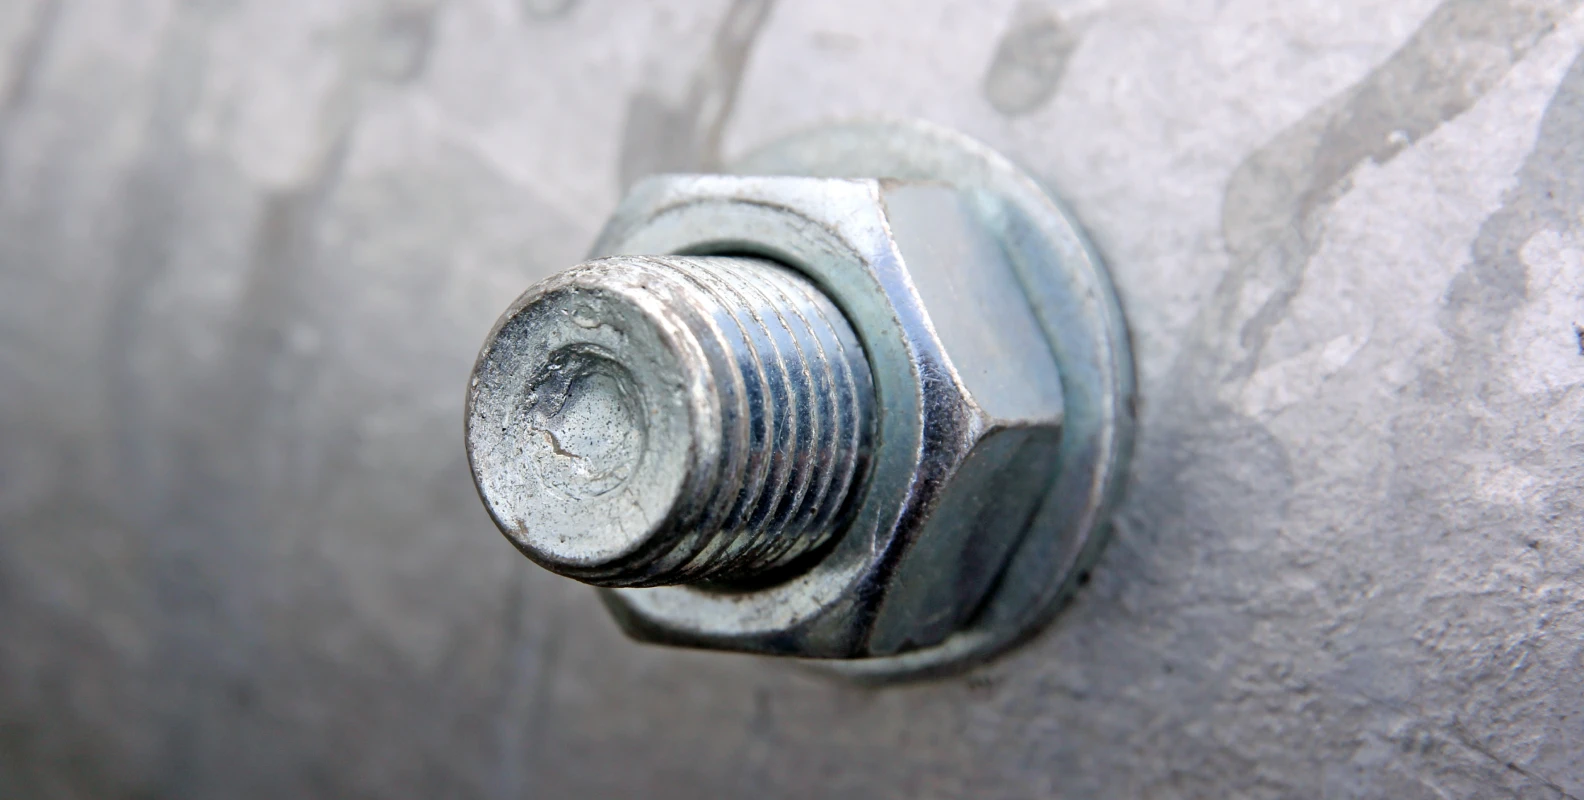
- Fit the embed bolts. Once the concrete is at 5 MPa or higher, install the double-head screw into the insert. You can't see the inside connection, so read the exposed thread length to confirm it's seated and safe.
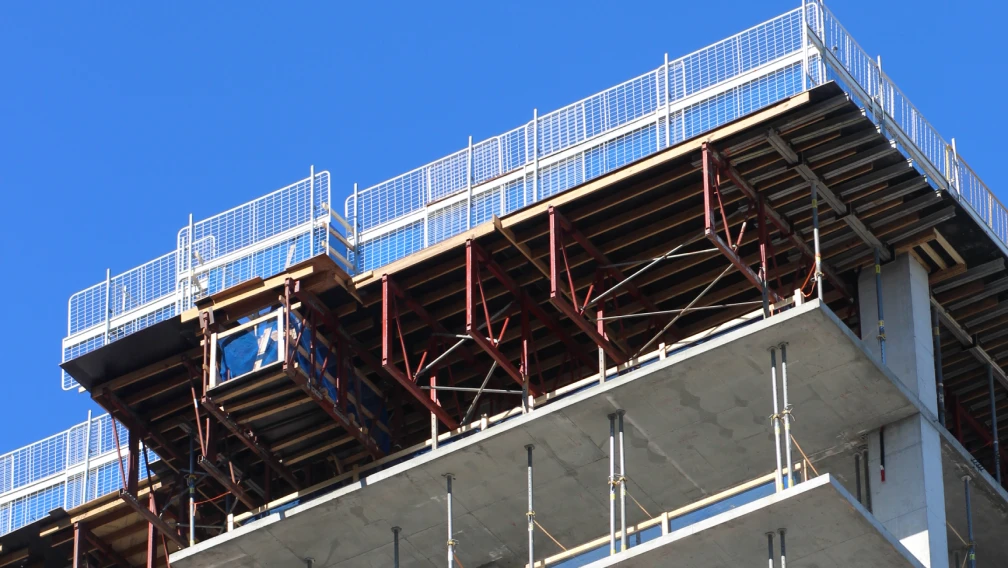
- Set the cantilever I-beam. Seat the underside tight against the concrete wall or beam. The outer end has to sit 1-2 cm high; it must never droop down. If it drops, shim the base plate until it lifts. Place each beam by its drawing number, and cap the protective covers straight after so the nut and screw threads don't corrode or get fouled by concrete. Host concrete should be C10 or higher. Where beams meet at a corner or project past 1.5 m, weld both beams and add 200×200×10 mm reinforcement plates top and bottom, with full welds and no air holes or slag. H-section steel is used in place of the I-beam where the calc calls for more capacity.
- Fix the standards. Lock the vertical rods to the beam layer with positioning pins, then stand them up.
- Build the frame. Run the longitudinal and transverse sweep rods, then the longitudinal and transverse horizontal rods, joining tubes with swivel and double couplers.
- Tie in and brace. Fit the wall connectors and diagonal braces per the plan.
- Enclose the working layer. Hang the safety nets, tie the color bands, and lay the boards and toe boards.
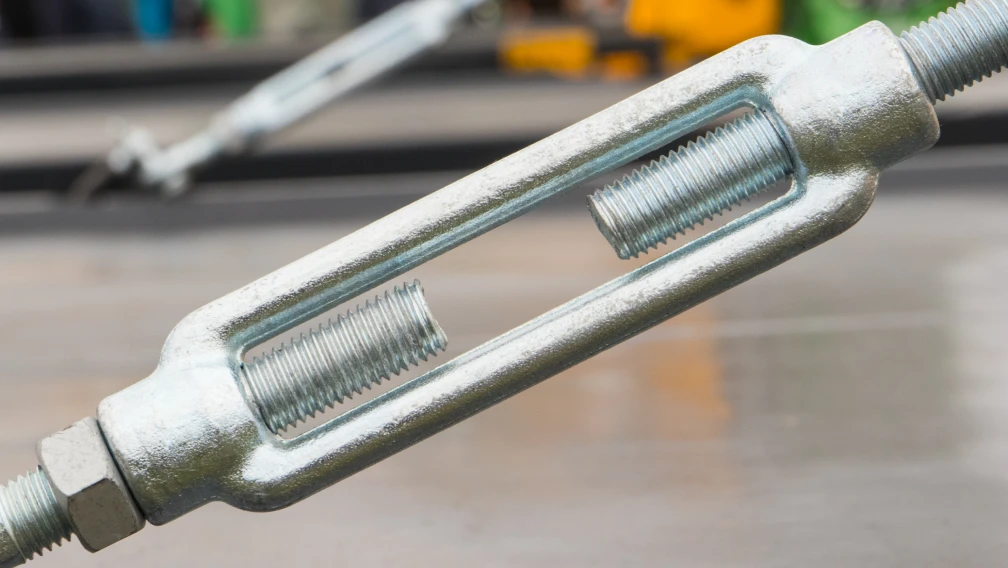
- Do the tie-rod step before you go higher. This is the gate that keeps the beam from rotating. Until the upper tie rod is in, cap the scaffold at 10 m, and never more than half the total frame height. On super-long beams over 1.8 m, prop or backstay the beam with a steel pipe or an adjustable steel prop before erecting, and pull the prop only after the tie rod is tight. Once the floor above reaches 75% strength and the outer formwork is stripped, connect the twin-ear anchor into the 145 mm insert, pin the diagonal tie rod with its axle pin, and tension the turnbuckle to load state. From there you can carry the section up to within 20 m, then re-cantilever a new beam layer above.
Getting the tie-rod tension right
Set the diagonal tie rod at 45° or steeper to the horizontal beam, and tension the turnbuckle to a torque of 110 N·m. That's the number that lifts the beam's outer end into load and takes the weight off the temporary prop. Leave it slack and the beam sags under the scaffold; the target is the spec, reached and checked, not "as tight as it'll go." Once the rod is carrying, the prop comes out and the beam is standing on its two designed connections: the bolt at the wall and the tie rod above.
Inspect before first use
A competent person inspects the scaffold before the first shift and after anything that could affect it, weather included. For a cantilever setup, that means two competent inspectors. Walk this list:
- Approved plan on site; beam layout matches the drawing
- Beam tail anchored at two or more points to the RC beam or slab, using U-loops or bolts of 16 mm or thicker
- Beam outer end sitting 1-2 cm high; underside tight to the concrete
- Tie rod pinned and tensioned; protective caps on the embed threads
- Standards plumb; wall connectors and braces tight
- Full planking with gaps under 25 mm; boards overhang supports 150-300 mm and no more than 460 mm
- Guardrails at 0.9-1.2 m plus toe boards; safety nets hung; no loose debris or standing water
- Load kept within the rated capacity, and never staged on the beam or scaffold during erection
Two field rules worth repeating: don't stack heavy material on the cantilever beam while you're still building, and don't crane loads onto the scaffold before it's tied and rated. If you're staging material at height, do it through a proper material loading platform, not the working scaffold. And in rain or high wind, stop.
Dismantling: reverse the logic, from the top down
Take the scaffold apart top down. There's no aerial dismantling, and each cantilever tier comes off in reverse order of how it went up: last built, first removed. The clean sequence for one beam layer is:
- Strip the frame down to the tie-rod layer
- Loosen the tie rod
- Pull the axle pin
- Remove the tie rod
- Remove the twin-ear anchor
- Strip the frame down to the I-beam layer
- Move the I-beam clear of the frame
- Off the tier below, build a 1.2 m temporary single-row outer frame as fall protection to work that beam layer
- Remove the nut cap, then the nut and washer, then the I-beam, then the high-strength screw
- Repeat on the layer below
Sort, stack, and code the removed beams, rods, turnbuckles, and pins by size as they come down, and ship them out on plan. This is the step that turns the modern kit into money back: because the parts came off bolted and clean, they go straight to the next job instead of the scrap bin. For the full picture of how the system is put together and why it's built this way, see our cantilever scaffolding systems guide.
Install mistakes we see most
- Loading the scaffold before the anchor concrete reaches C15
- Beam outer end drooping instead of set 1-2 cm high
- Skipping the prop on beams over 1.8 m before the tie rod is tensioned
- Leaving the protective caps off, so the threads corrode and won't adjust later
- Casting the wrong insert, so the beam bolt won't thread in
- Running one section past 20 m instead of re-cantilevering
Get a matched kit with install support
We manufacture cantilever beams and the full anchoring kit, and we supply the drawings and torque figures with the hardware so your crew installs it right the first time. Send us the building height, floor cycle, and facade, and we'll match beams, tie rods, turnbuckles, anchors, and pins in custom lengths, with test reports. Samples and OEM supply are available through our contact page.
Frequently asked questions
When can I start erecting scaffold on the cantilever beams?
After the host structure concrete reaches C15. Two earlier gates apply first: the double-head embed screw goes in once concrete is at 5 MPa, and the I-beam is set once the host structure is at C10. The upper tie rod is tensioned only after the anchor above reaches 75% of design strength, usually around 72 hours after the pour.
Why does the beam's outer end have to tilt up 1-2 cm?
Because the scaffold load will push that end down. Setting it 1-2 cm high leaves room for that deflection so the beam ends up close to level under load. A beam that already droops before loading is a sign the seating is wrong, and it needs a steel shim under the base plate before you go on.
What torque should the tie rod be tensioned to?
110 N·m, with the rod set at 45° or steeper to the horizontal beam. That tension carries the beam's outer end and lets you pull the temporary prop. Tension to the spec and check it; more than the spec isn't the goal.
Do I always need to prop the beam during erection?
Only for super-long beams over 1.8 m. Those get a steel pipe or adjustable prop under them before the scaffold goes up, and the prop stays until the tie rod is tightened. Shorter beams don't need it once the anchor and tie rod are in.
How high can one cantilever section go before re-cantilevering?
A single section runs up to within about 20 m. Before the tie rod is installed, keep it under 10 m and no more than half the total frame height. For taller buildings, fix a new beam layer every few floors and start a fresh section.
Who is allowed to install and inspect it?
Only trained, certified scaffolders should erect, alter, or dismantle it. Inspection is done by a competent person before the first shift and after any event that could affect the frame; because it's a cantilever, that inspection needs two competent inspectors.
What is the dismantling order?
Top down, reversing the build: strip to the tie-rod layer, loosen and remove the tie rod and twin-ear anchor, strip to the beam layer, then remove the nut cap, nut, washer, I-beam, and screw. No section is dismantled from the air, and parts are sorted and coded by size as they come off.
-

Lengge
Cantilever Scaffolding System Manufacturer
Lengge is a China-based factory producing cantilever I-beams, tie rods, couplers, embedded parts and full scaffolding accessories. We supply contractors, wholesalers and rental companies in over 50 countries from our own production facility in Hebei.